Idea
Build a clean white gaming PC for modern 1440p titles while getting as much performance as possible out of a roughly $2,000 budget.
Custom PC Build
A white 1440p gaming PC built for my younger sister with a $2,000 target budget, strong current-gen performance, and enough headroom to avoid upgrades for a long time.
Build a clean white gaming PC for modern 1440p titles while getting as much performance as possible out of a roughly $2,000 budget.
Balanced a Ryzen 5 9600X, RTX 5070, 32 GB of DDR5, fast PCIe 5.0 storage, and an 850 W Gold power supply so the system feels fast now and still has room for future upgrades.
This build was for my younger sister, who has been wanting to get into PC gaming for a while. She gave me a $2,000 budget, so the goal was to squeeze out as much performance as possible while still building something cohesive, clean, and elegant.
She plans to play newer games, including Marvel Rivals, on a 1440p monitor. I wanted the system to feel strong enough that she would not have to think about upgrades for a long time and could run most games confidently at high or max graphics settings.
The final price came in at $2,192.94, so it did go over the target mainly because the price of RAM and the price of SSDs have skyrocketed in the past few months. That is not ideal, but its as they say, "buy once, cry once". We have no way of knowing how the market will evolve, so I would rather spend a little more right now for an end product that she will love, than try and save money now and create an inevitable upgrade problem later.

 CPUAMD Ryzen 5 9600X 3.9 GHz 6-Core Processor$179.00
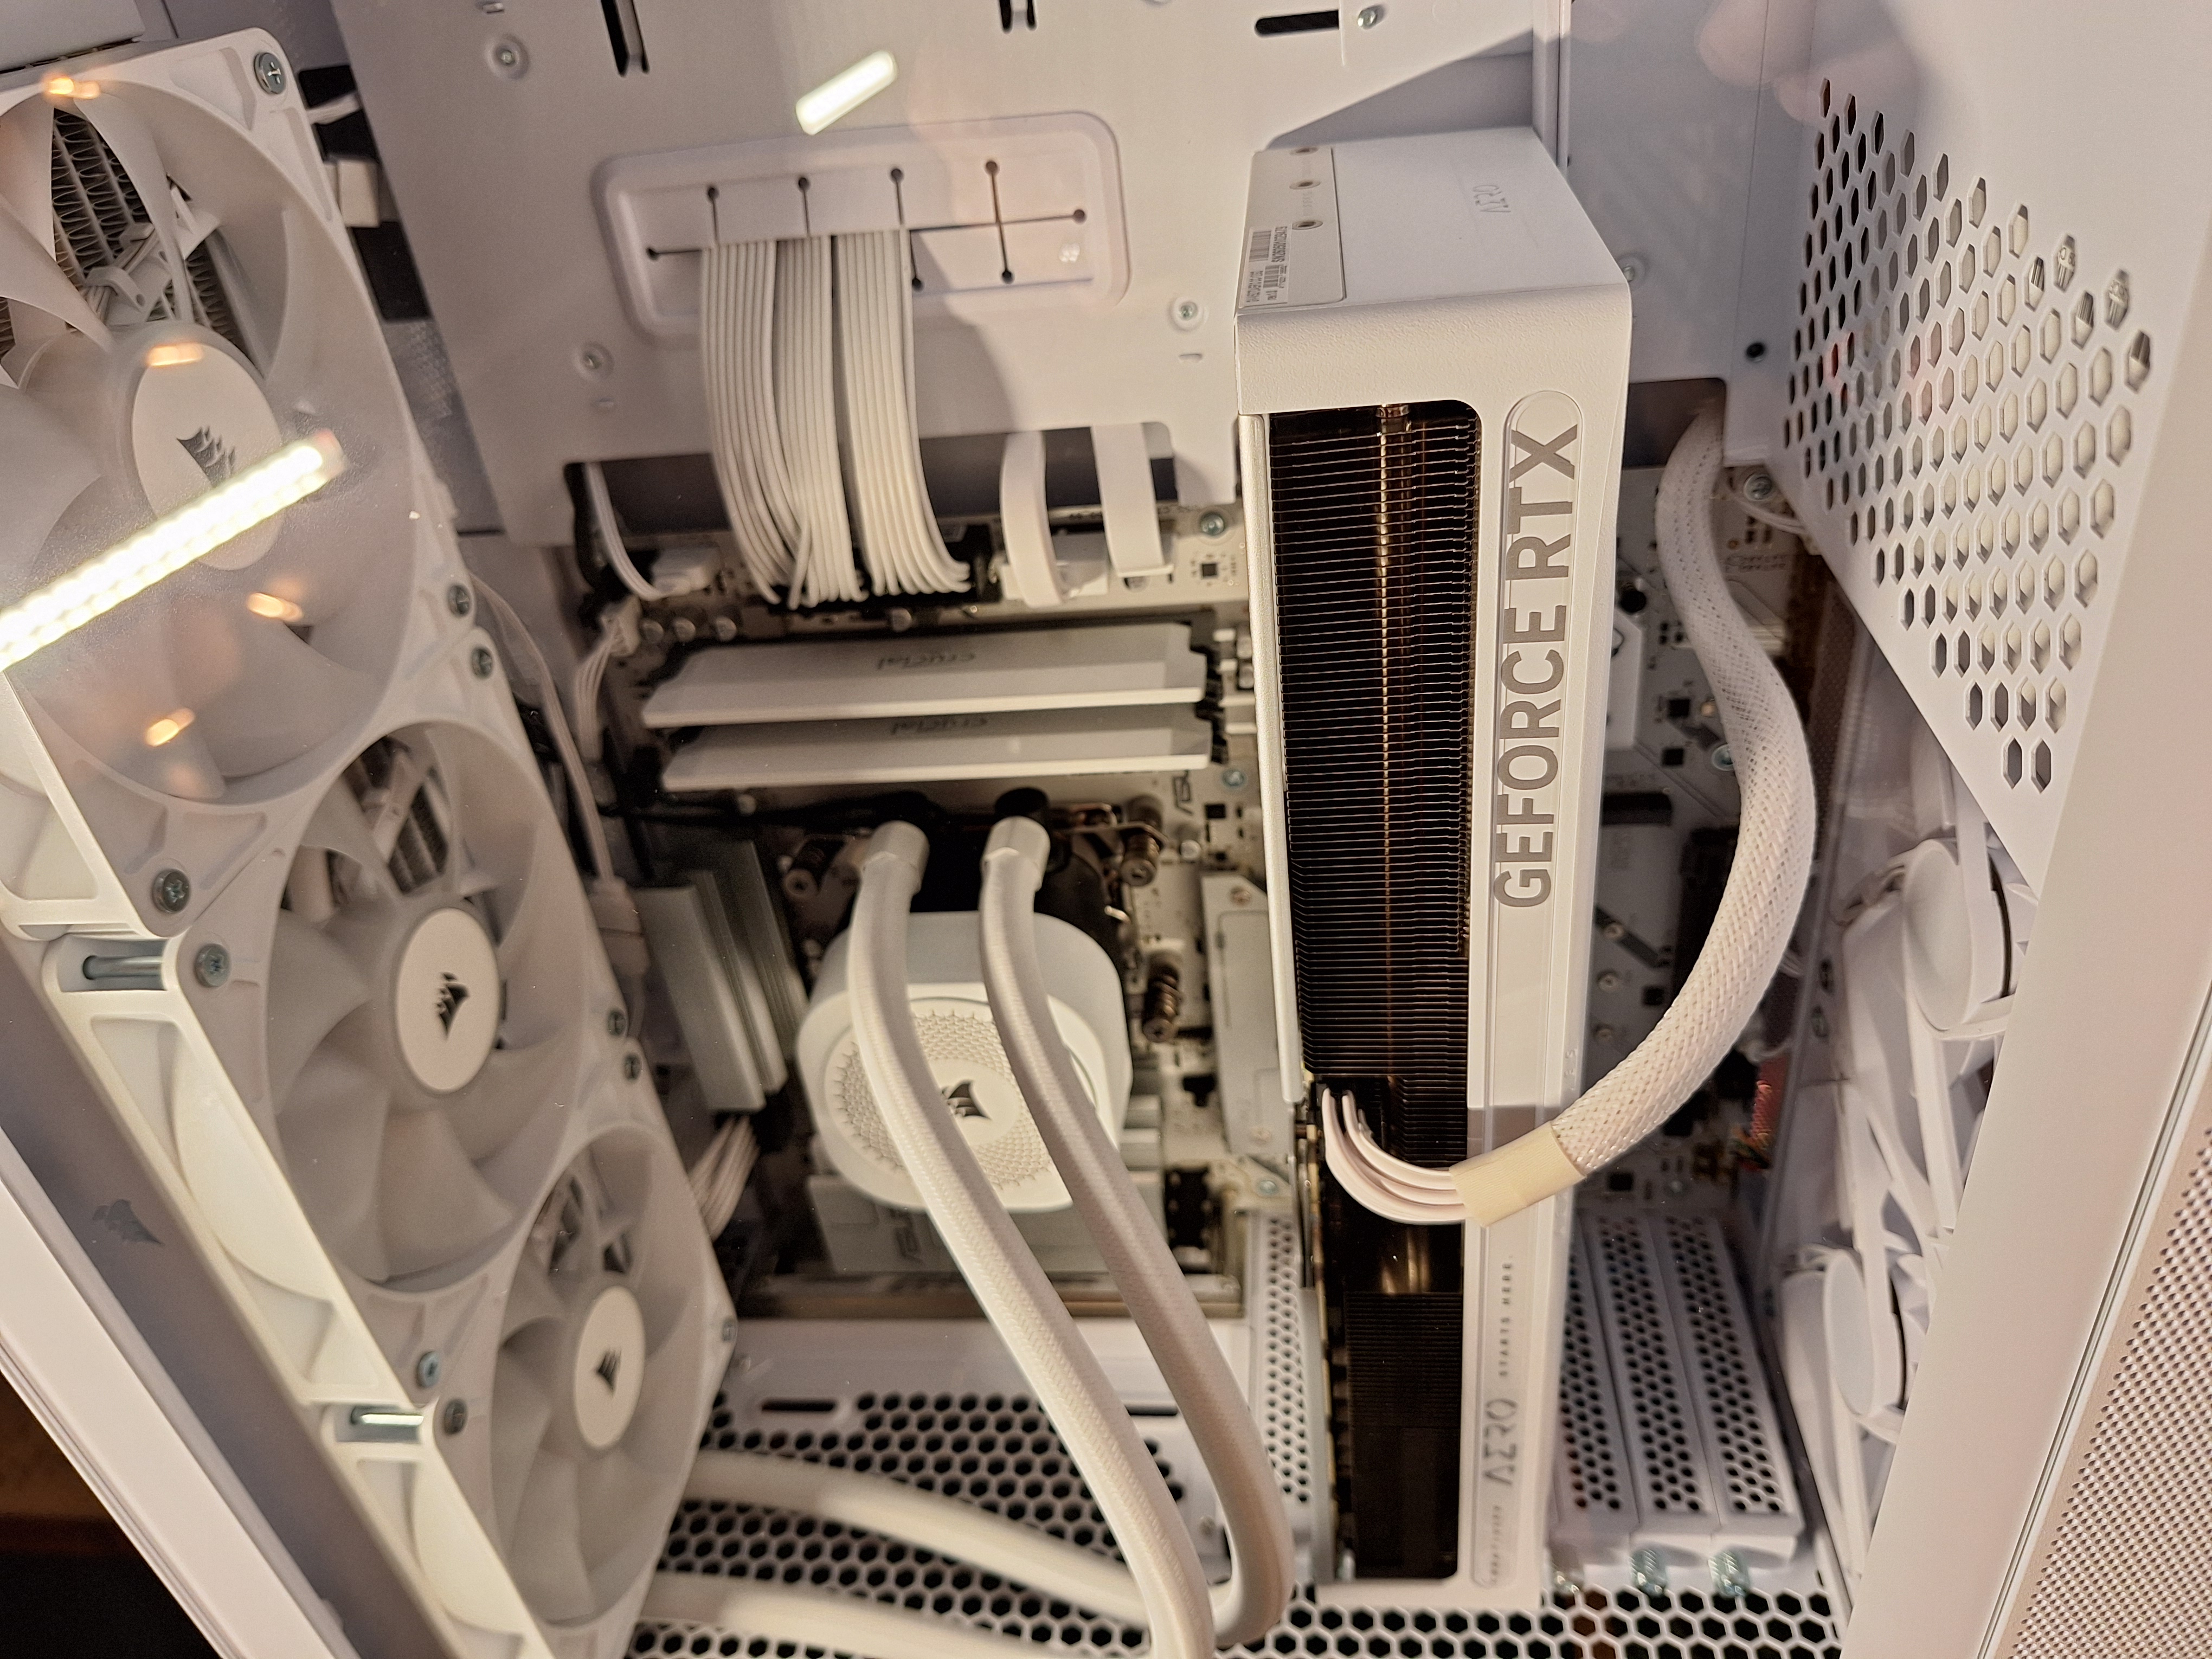
 CoolerCorsair NAUTILUS 360 RS ARGB 74.37 CFM Liquid CPU Cooler$99.99
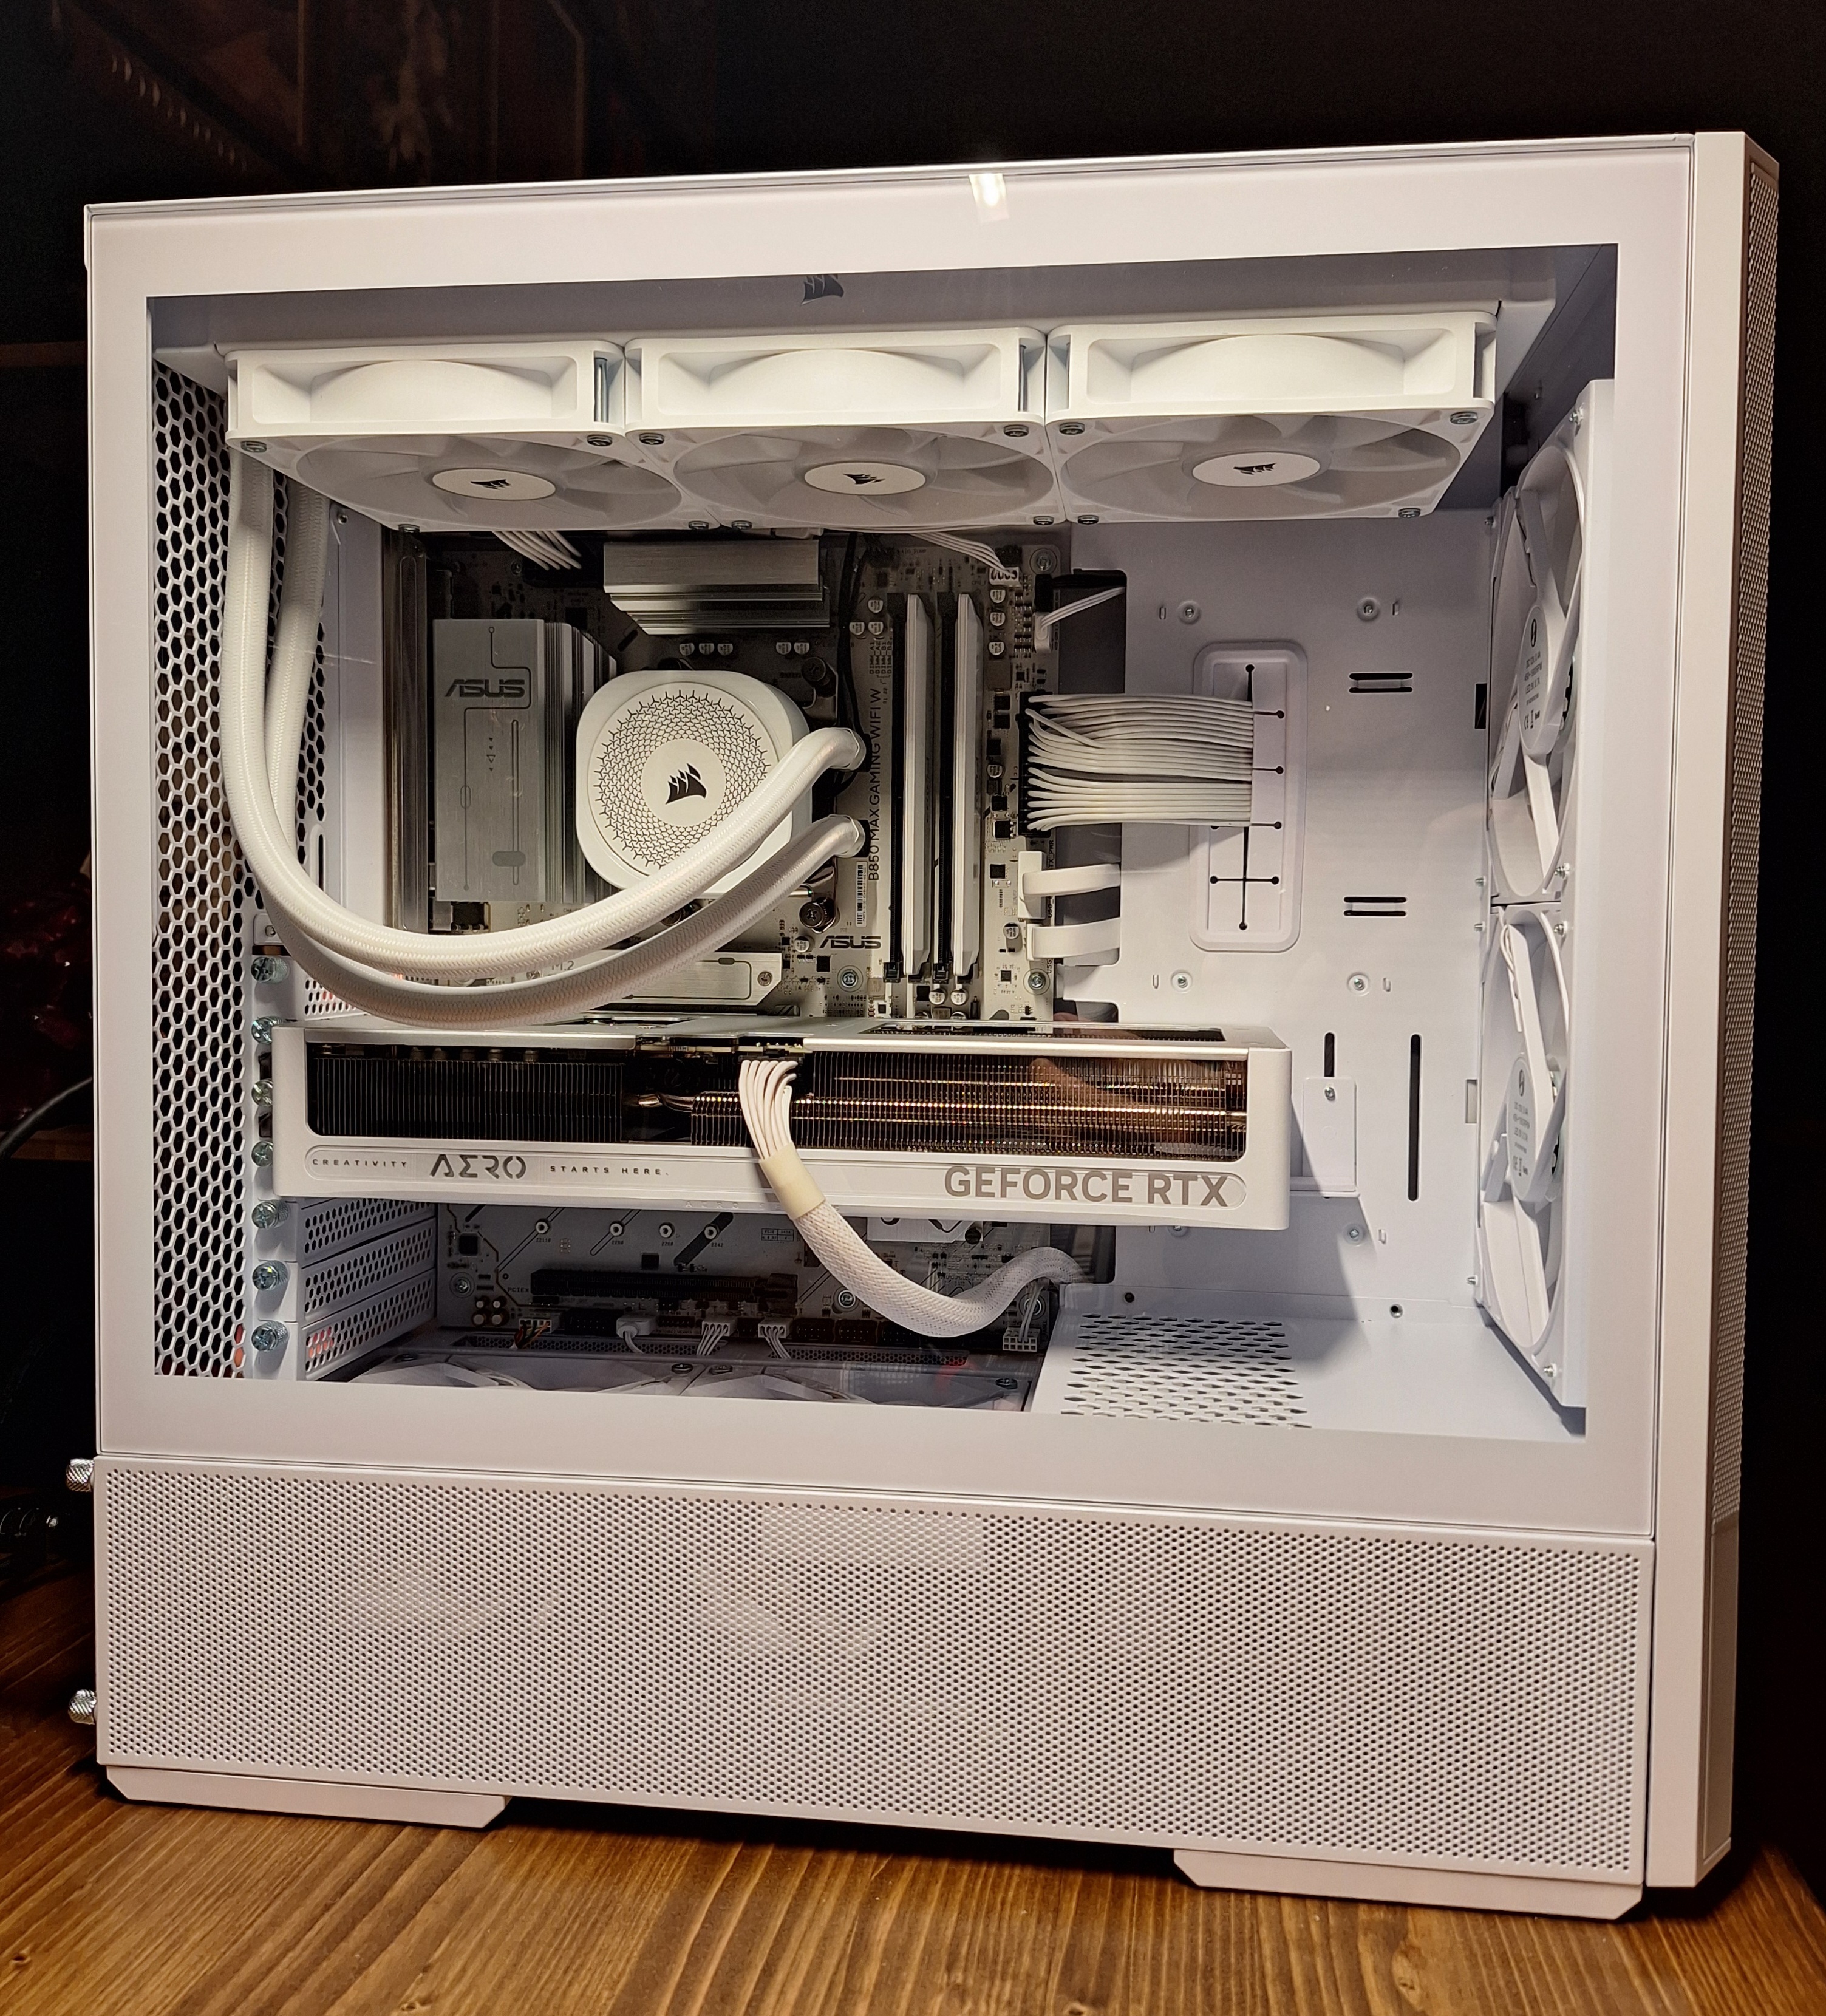
 MotherboardAsus B850 MAX GAMING WIFI W ATX AM5 Motherboard$169.99
 MemoryCrucial Pro Overclocking 32 GB (2 x 16 GB) DDR5-6000 CL36 Memory$409.99
 StorageSamsung 9100 PRO 2 TB M.2-2280 PCIe 5.0 X4 NVME SSD$444.99
 GPUGigabyte AERO OC GeForce RTX 5070 12 GB Video Card$689.99
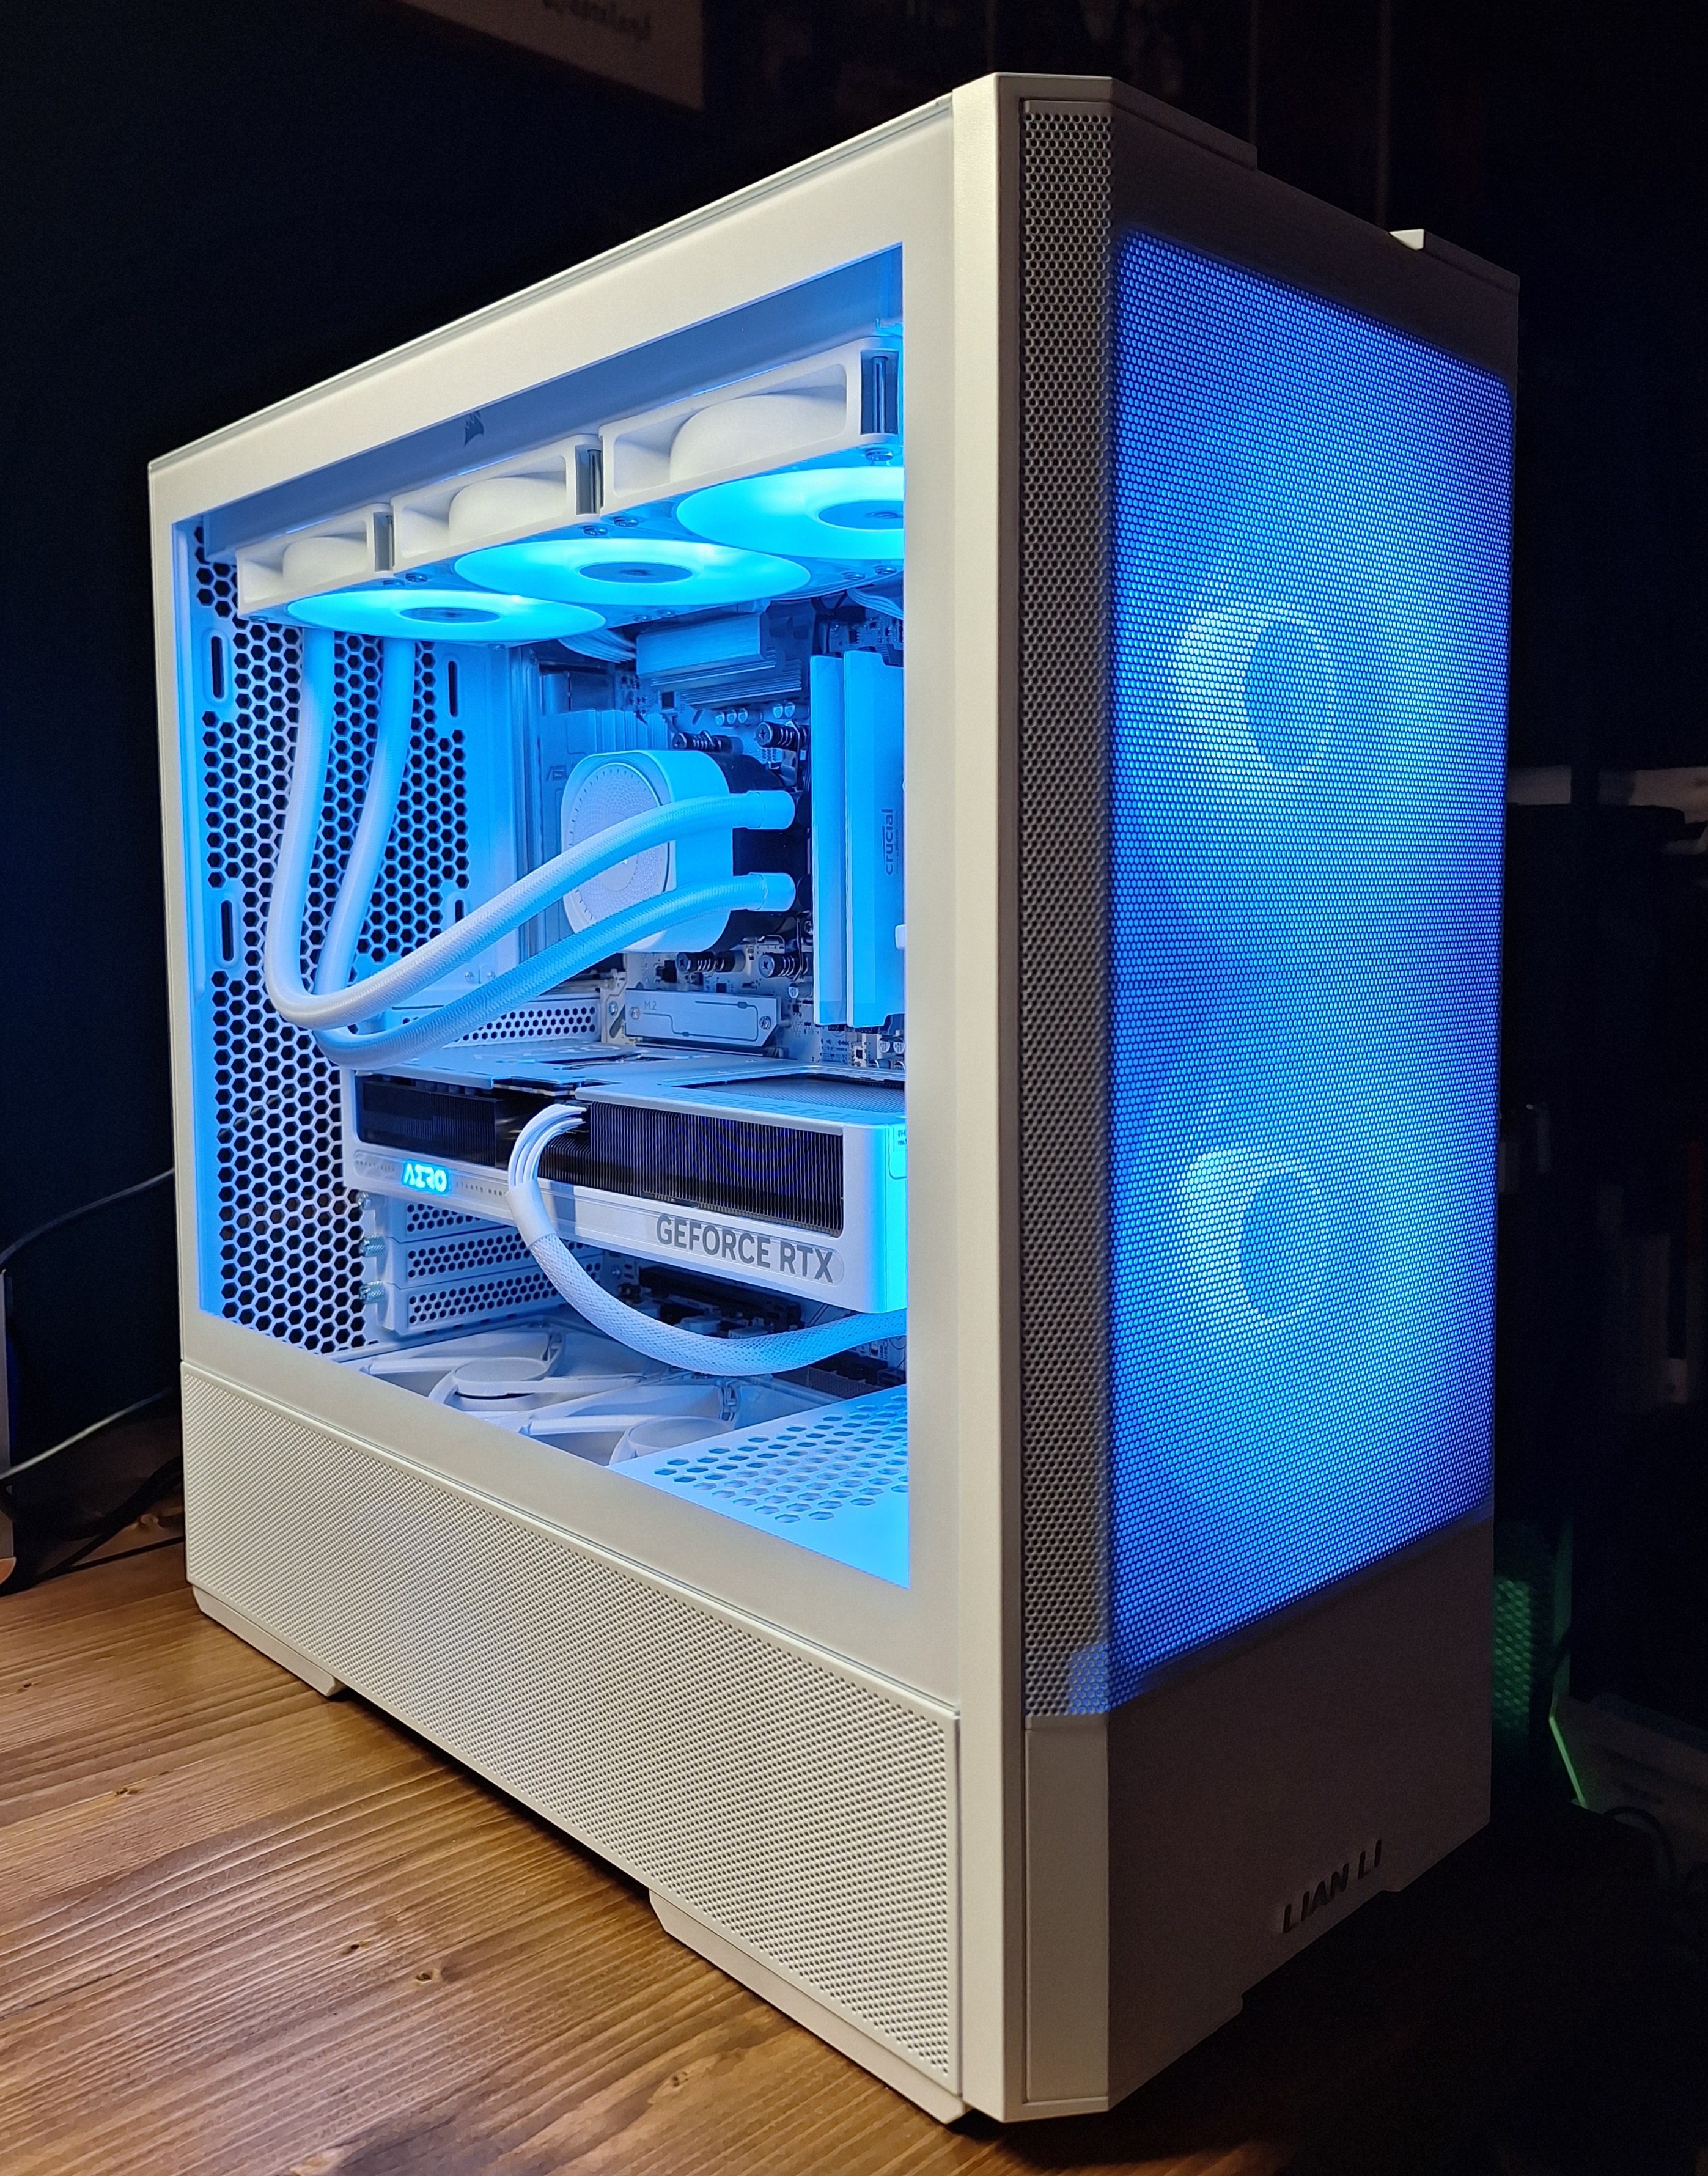
 CaseLian Li Lancool 207 ATX Mid Tower Case$89.99
 PSUMSI MAG A850GL PCIE5 850 W 80+ Gold Fully Modular ATX Power Supply$109.00
Total: $2,192.94
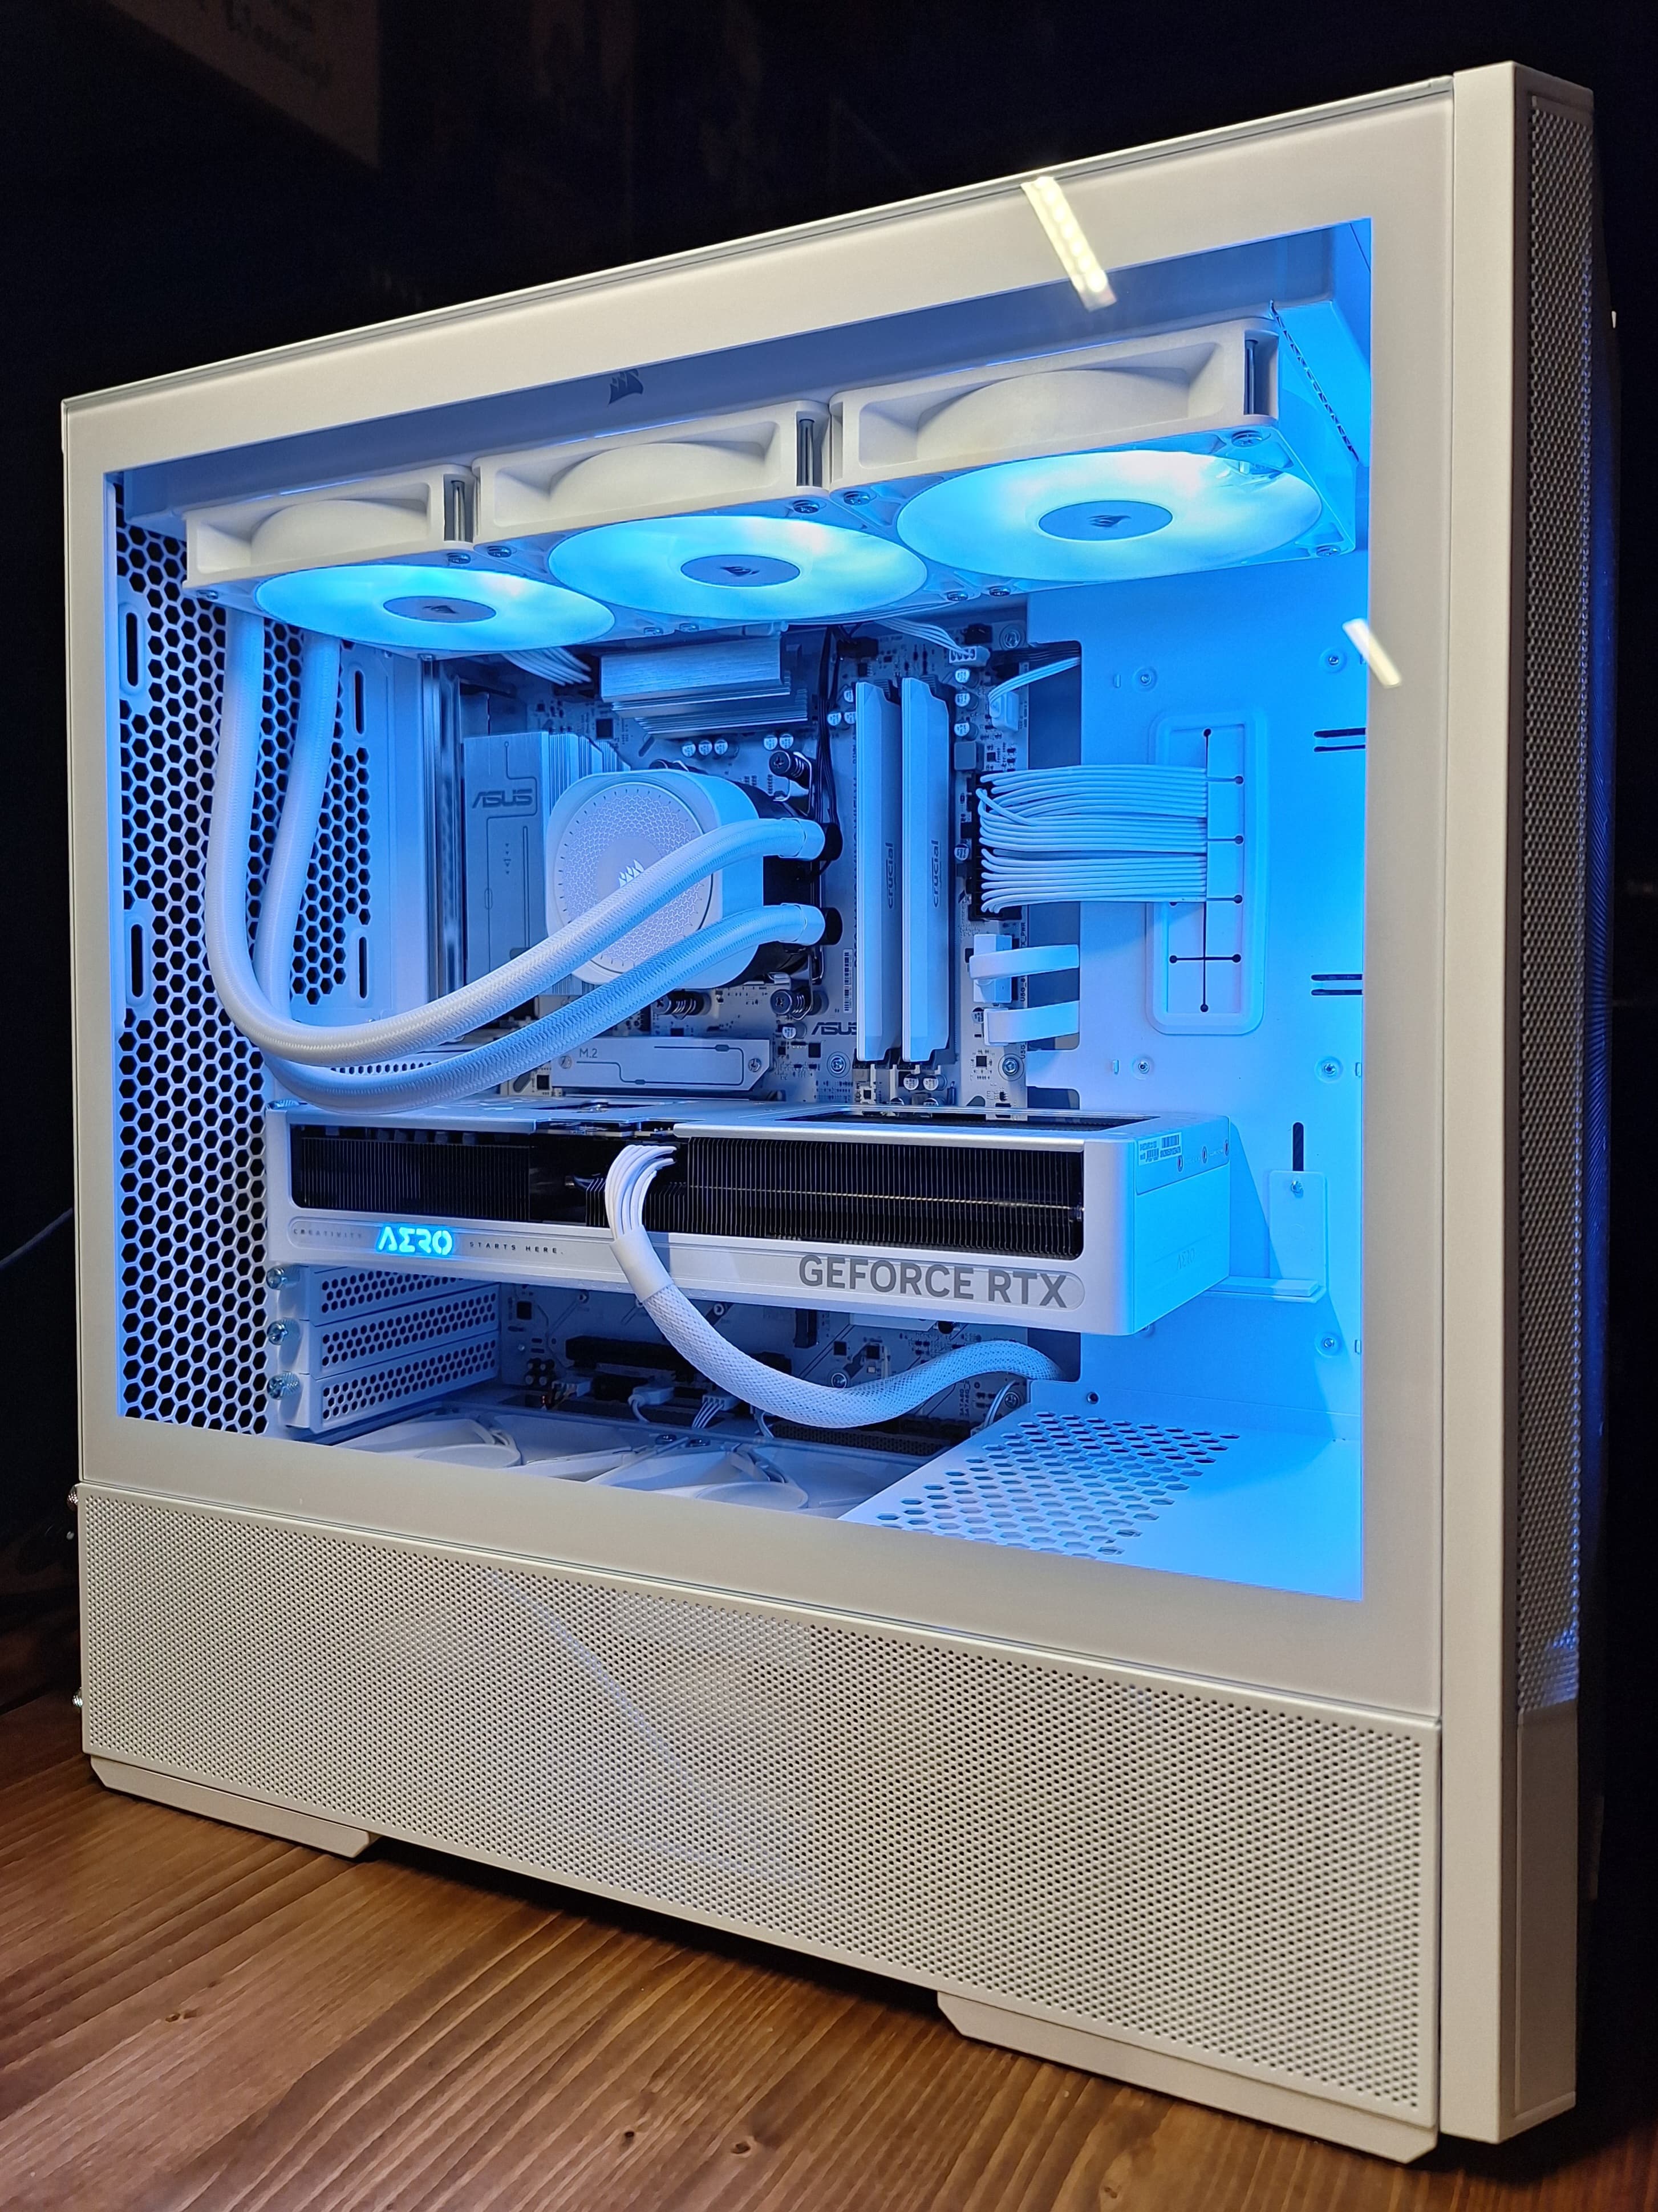
I took my time routing cables because exposed cable runs are one of my biggest pet peeves in PC builds. A clean build starts before anything is plugged in. You have to think through which headers you plan to use, where each run will enter the visible chamber, and how much slack each cable needs.
With a white build, cable management matters even more because dark cables or messy routing stand out immediately. The goal was to make the inside look smartly routed, not just technically functional.
This build was about making the strongest system possible within the limits of a rough hardware market, putting the budget where it mattered most and staying practical everywhere else.
For this system, the extra spend went into places that affect long-term ownership: GPU performance, storage capacity, power supply headroom, and a cohesive white aesthetic. It ended up slightly over budget, but the final system should give her a strong 1440p gaming experience for a long time.